I know many may find this a bit sacrilegious, but for the first time in quite a while, we were actually excited to be installing a Microsoft product on our test workstation. Microsoft Office 2011 was made available to the paying public on Tuesday, October 26 2010. Microsoft promised its users the stars. Our small business clients have needs that others don’t. So we decided to have a look and jot down our opinions for our clients and anybody else who finds this information helpful.
Installation
- No real changes of substance here from previous versions of Office. The installer still comes in the form of a meta-package (MPKG) file that the user simply double-clicks to launch the installer.

- The user is then prompted to click continue on the “Introduction” screen.

- The installer displays the “Software License Agreement” and prompts the user to click the "Continue" button.

- The installer then confirms that the user actually read the “Software License Agreement” and prompts the user to agree to the terms set forth in that agreement.

- The installer then asks the user for his or her preferred installation destination…

- …and confirms that the user is aware of the file size requirement of 1.65 GB of hard disk space.

- The software is installed in the Applications folder which requires Administrative authentication, which the user is prompted for upon clicking the "Install" button.

- Once the user properly authenticates as an administrator level user and clicks the OK button, the installation process begins. Despite the installer’s estimation of 25 minutes, on our 2.4GHz MacBook Pro, the installation took approximately 6 minutes. Your installation performance may be faster or slower depending on the performance of your machine.

- Once the installation was completed, we were pleasantly surprised that unlike Office 2008, the installer did not attempt to remove our older version of Office. It appears as though Office 2011 is different enough that Microsoft no longer relies on shared libraries that may conflict with older versions of the application.

- Upon launching one of the Office applications for the first time, the user is prompted with the choice to Enter an already purchased license key, to purchase a product key online, or to try the software for free for 30 days.
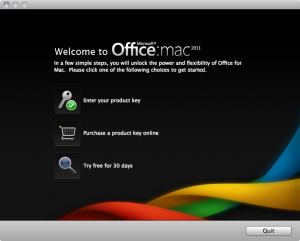
- We selected “Enter your product key” and went ahead and entered our licensing information.
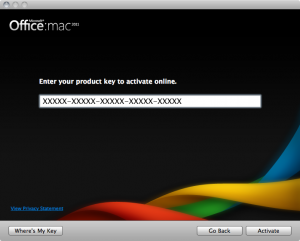
- The installer then provides the user with the Product ID which corresponds to the Product Key entered in the previous step.
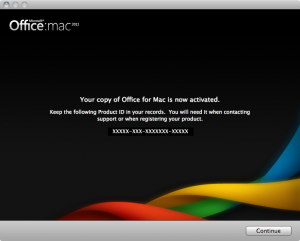
- Upon clicking the “Continue” button the user is presented with a screen asking the user about whether or not he or she would prefer to have Office utilize the existing settings (if any were found) from previous installations of Office, or if the user would prefer to “Create new settings.” We chose to “Create new settings” to further investigate the configuration process for the application.

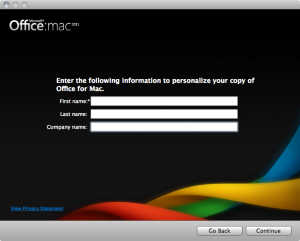
- The system then prompts the user for his or her First name, Last name and Company name information so that it can assign that information to the application.
- The system then prompts the user to decide how software updates get deployed, whether or not the user would like to participate in the Microsoft Customer Experience Improvement Program and a link to register the software.
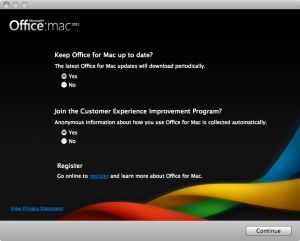
- After making the desired selections and clicking the “Continue” button, the installation and basic information setup process has been completed and the user can begin actually utilizing the software once he or she clicks the “Done” button.


